![]()
www.osoyoo.com/?p=9847
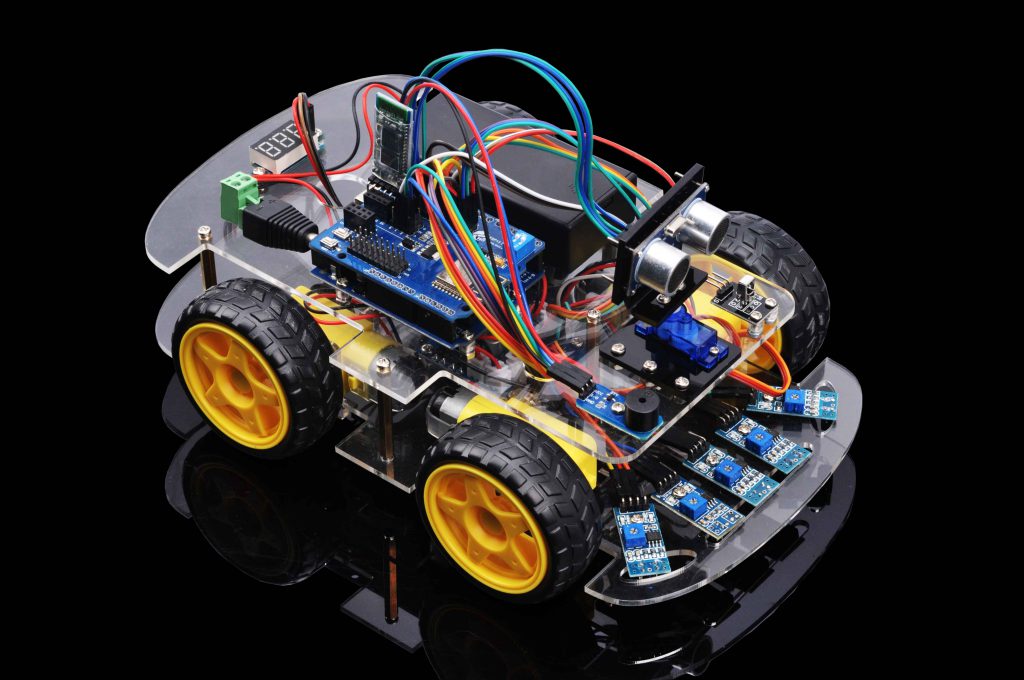 |
In this lesson, we learn how to control the Robot car mobile APP through WiFi and Bluetooth |
|
Device Name
|
picture
|
qty
|
Screw Number |
|
|
 |
1
|
|
|
|
 |
1
|
|
|
Lower chassis
|
|
1
|
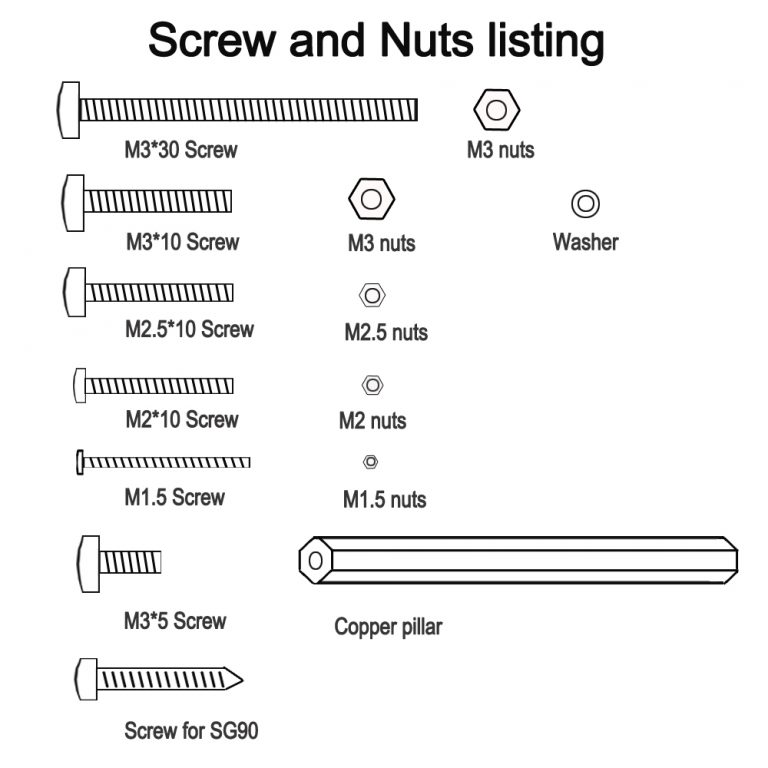
M3*5 screw x5 Copper pillar x5 |
|
Upper chassis
|
|
1
|
M3*5 screw x5 |
|
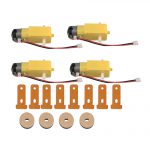
Gear Motor with wires
(Acrylic fastener for Gear Motor x8
Velocity encoder x4)
|
 |
4
|
M3*30 screw x8 M3 nuts x8 |
|
Wheel
|
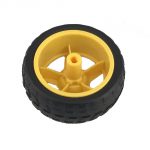 |
4
|
|
|
|
 |
1
|
M3*10 screw x4 M3 nuts x4 Transparent Washer x4 |
|
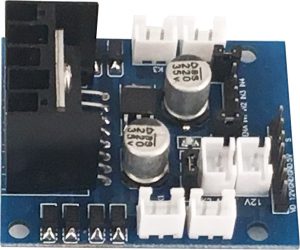
OSOYOO Model X motor driver module
|
 |
1
|
M3*10 screw x4 M3 nuts x4 Transparent Washer x4 |
|
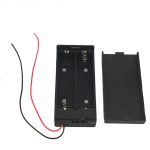
Box for 18650 3.7V battery
|
 |
1
|
M3*10 screw x4 M3 nuts x4 |
|
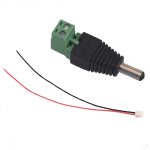
DC power connector with wires
|
 |
1
|
|
|
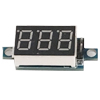
voltage meter
|
 |
1
|
M3*10 screw x2 M3 nuts x2 Transparent Washer x2 |
|
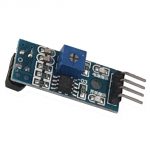
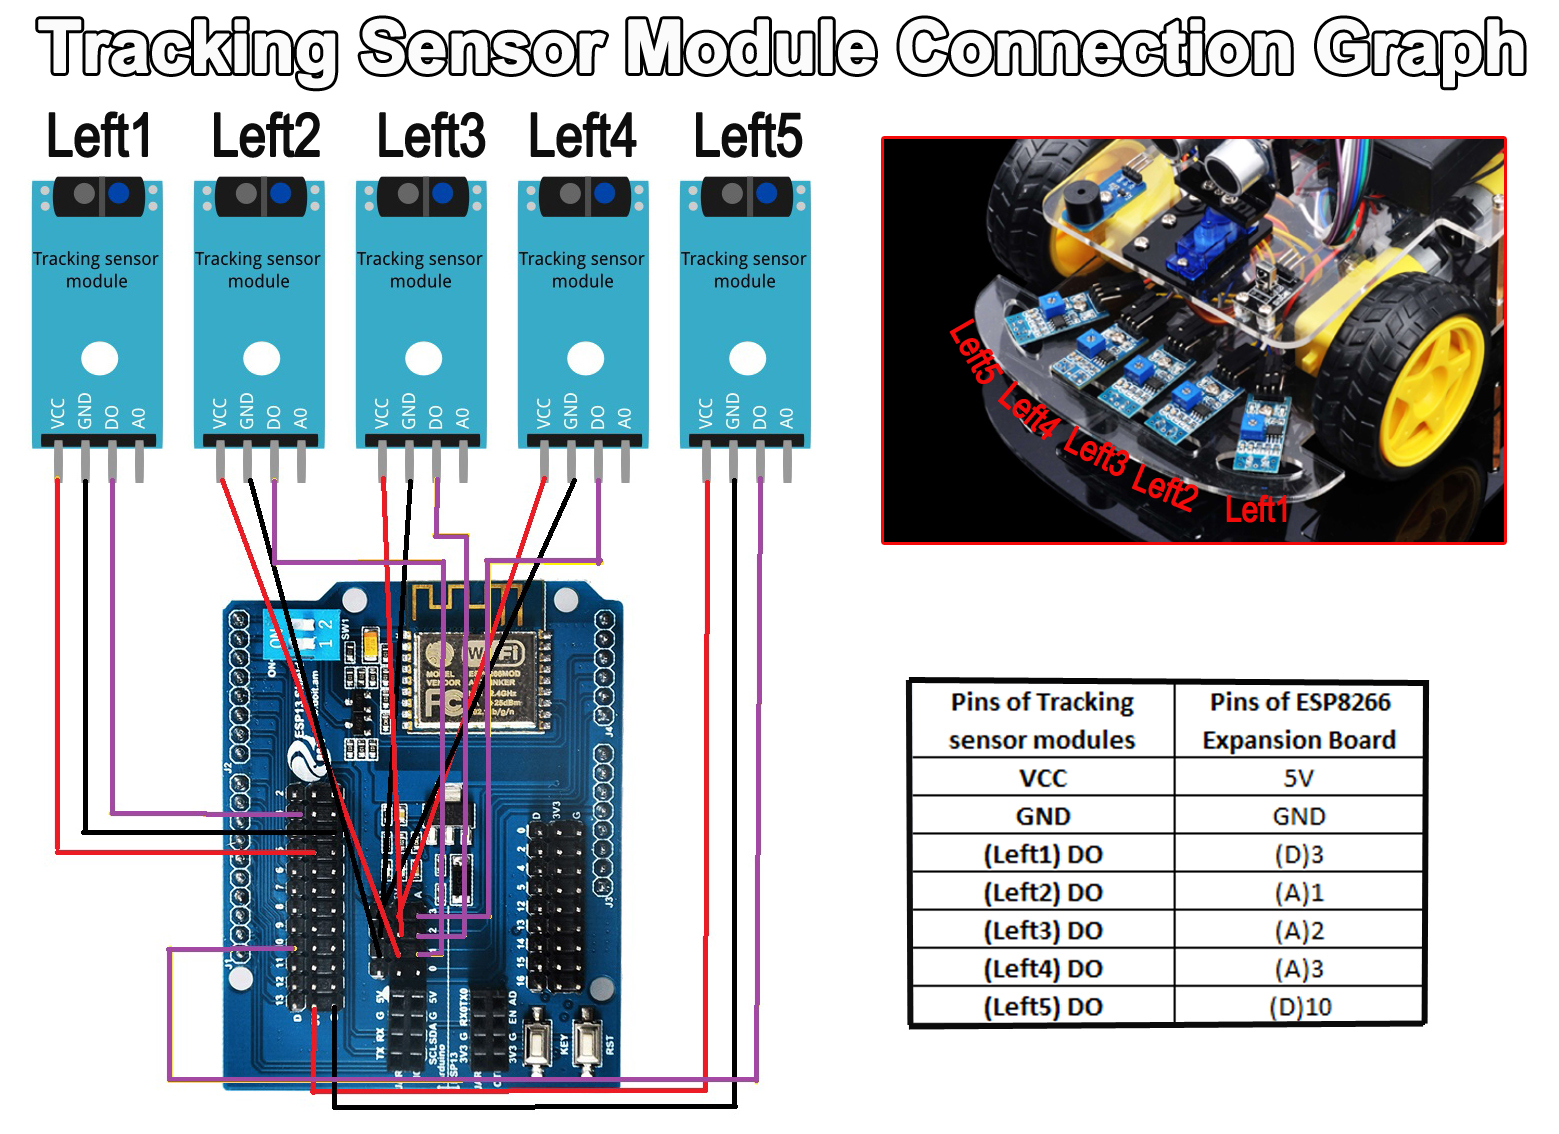
Tracking sensor module
|
 |
5
|
M3*10 screw x5 M3 nuts x5 |
|
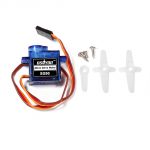
SG90 servo Motor with blade and screw
|
|
1
|
|
|
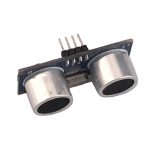
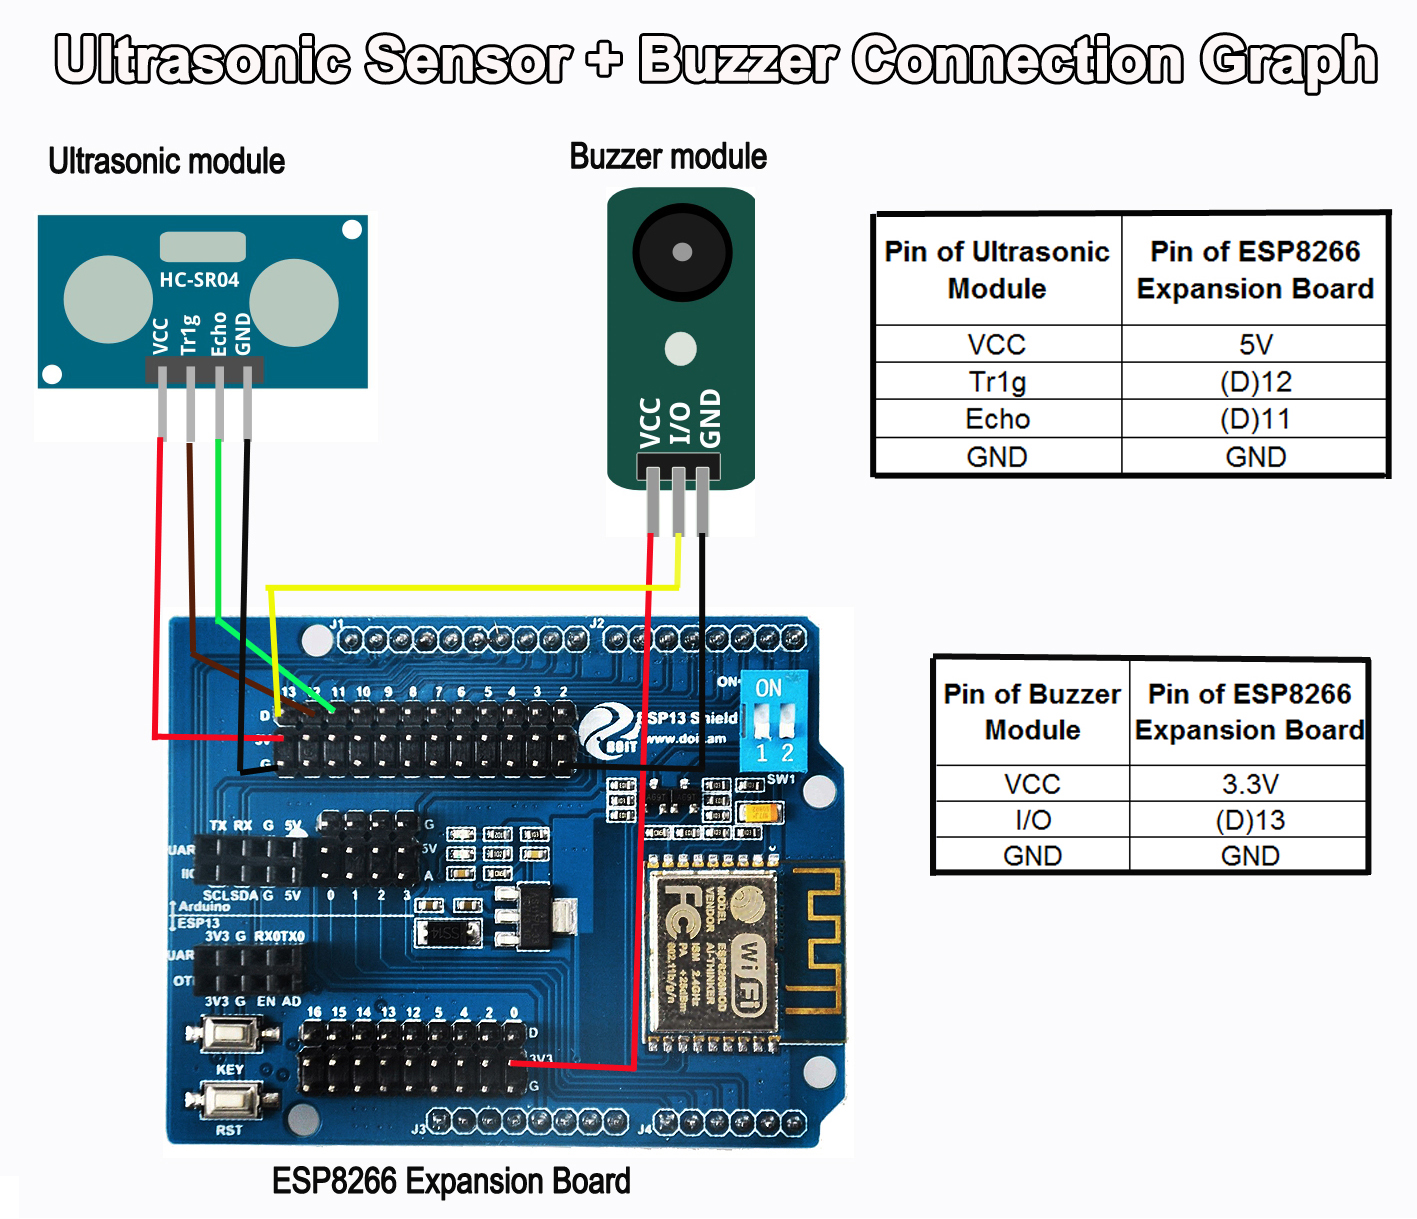
Ultrasonic Sensor module
|
|
1
|
M1.5*12 screw x4 M1.5 nuts x4 |
|
Mount holder for SG90 servo Motor and Ultrasonic Sensor
|

|
1
|
M3*10 screw x3 M3 nuts x3 M2*10 screw x2 M2 nuts x2 Screw for SG90 x1 |
|
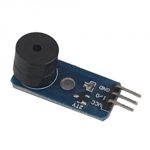
Buzzer sensor module
|
|
1
|
M3*10 screw x1 M3 nuts x1 |
|
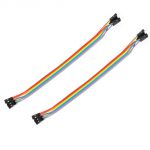
Jumper wires(female to female)
|
 |
some
|
|
|
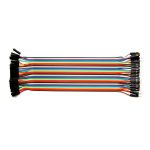
Jumper wires(male to female)
|
 |
some
|
|
|
Cross screwdriver
|
 |
1
|
 |
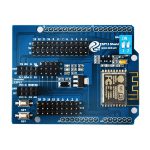
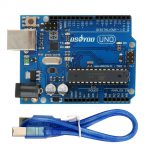
| Step 1) Install ESP8266 Expansion Board on UNO R3 board basic frame work as per Smart Car Lesson 4 |
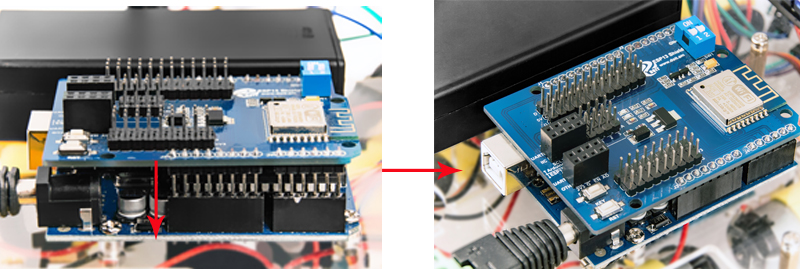 |
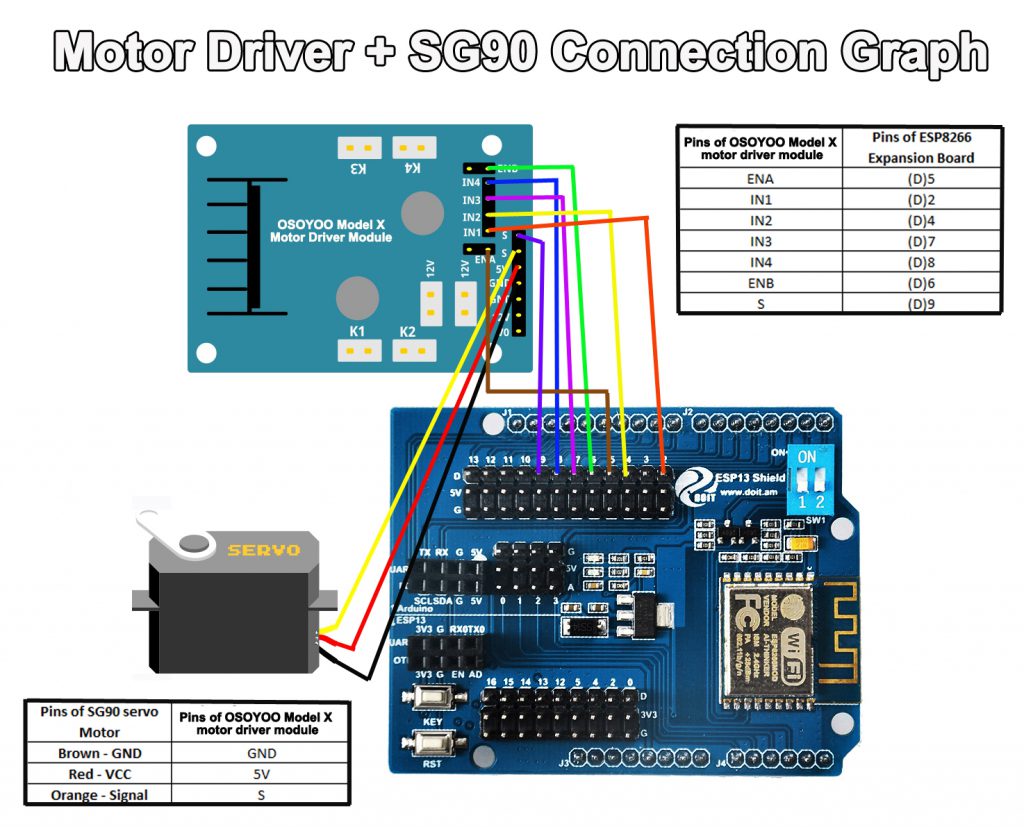
Step 2) Move every wire connected to digit ports(D2 to D13 , A1-A3) in UNO R3 board to its counterpart digit pin in ESP8266 Expansion Board. |
 |
 |
 |
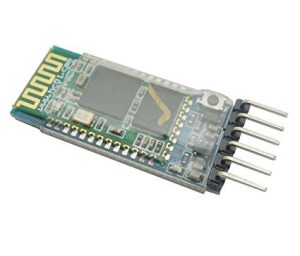
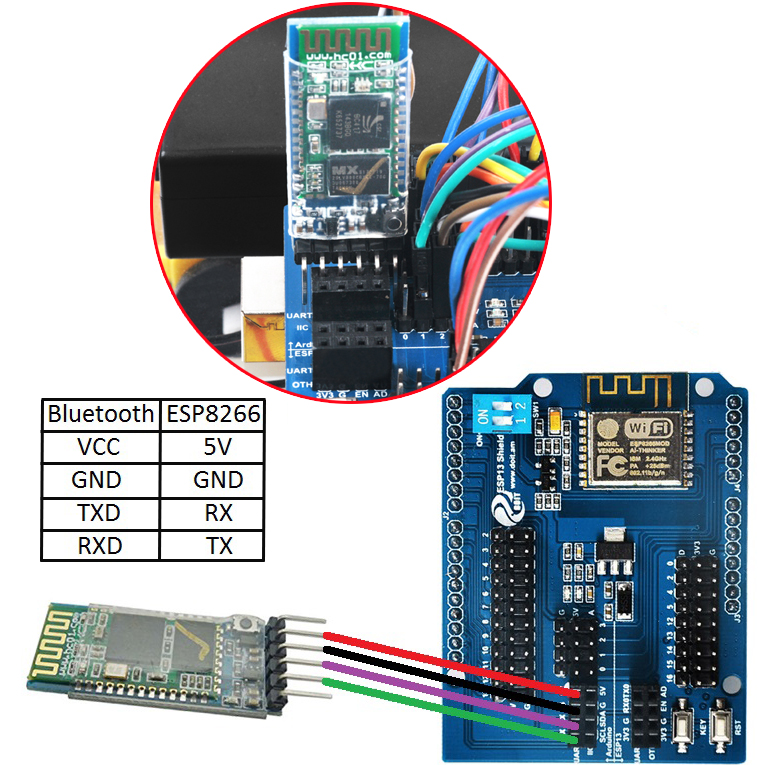
Note: If you want control the car through bluetooth, please install bluetooth module on ESP8266 |
 |
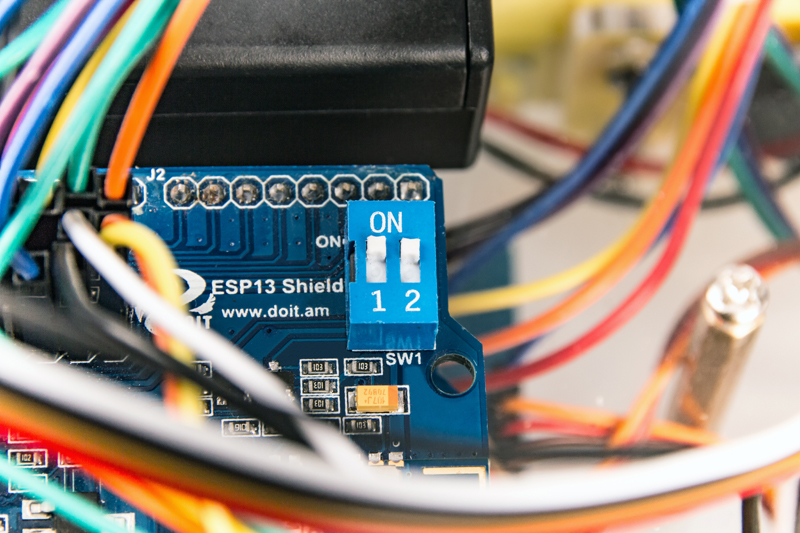
Step 3) Turn the switch of esp8266 to “1.2” position, as following photo shows: |
 |
Step 4) Load Lesson 1 Sample code into Arduino Uno |
Step 5) Turn the switch of esp8266 to “on” position, as the following photo shows: |
 |
Step 6) Turn on switch in the battery box. If there car can make movement as described in Lesson 1 (go forward 5 seconds, then go backward 5 seconds, then left turn for 5 seconds, then right turn for 5 seconds, then stop), it means wire connection with ESP8266 Expansion Board and R3 UNO board are all correct. Otherwise please check the each Digital Pin connection in ESP8266 Expansion Board and UNO R3. |
Step 1: Before uploading code, please turn the switch of esp8266 to “1.2” position, as following photo shows: |
 |
Step 2: Download Lesson 5 sample code, unzip the download zip file smartcar-lesson5.zip, you will see a folder called smartcar-lesson5(or you can find the code directly from our CD user manual: OSOYOO Robot Car Starter Kit >> Code). |
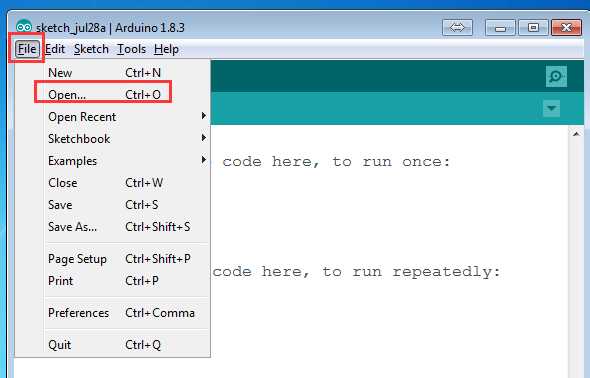
Step 3: Connect Arduino UNO to PC with USB cable, Open Arduino IDE -> click file -> click Open -> choose code "smartcar-lesson5.ino" in smartcar-lesson5 folder, load the code into arduino. |
 |
Step 4: Choose corresponding board/port for your project,upload the sketch to the board. |
 Note: Bluetooth module and Arduino board communicate with each other through UART serial port. Please remove bluetooth module before uploading sketch in Arduino board, or the sketch will be uploaded unsuccessfully. |
Step 5: Turn the switch of esp8266 to “on” position, as the following photo shows: |
 |
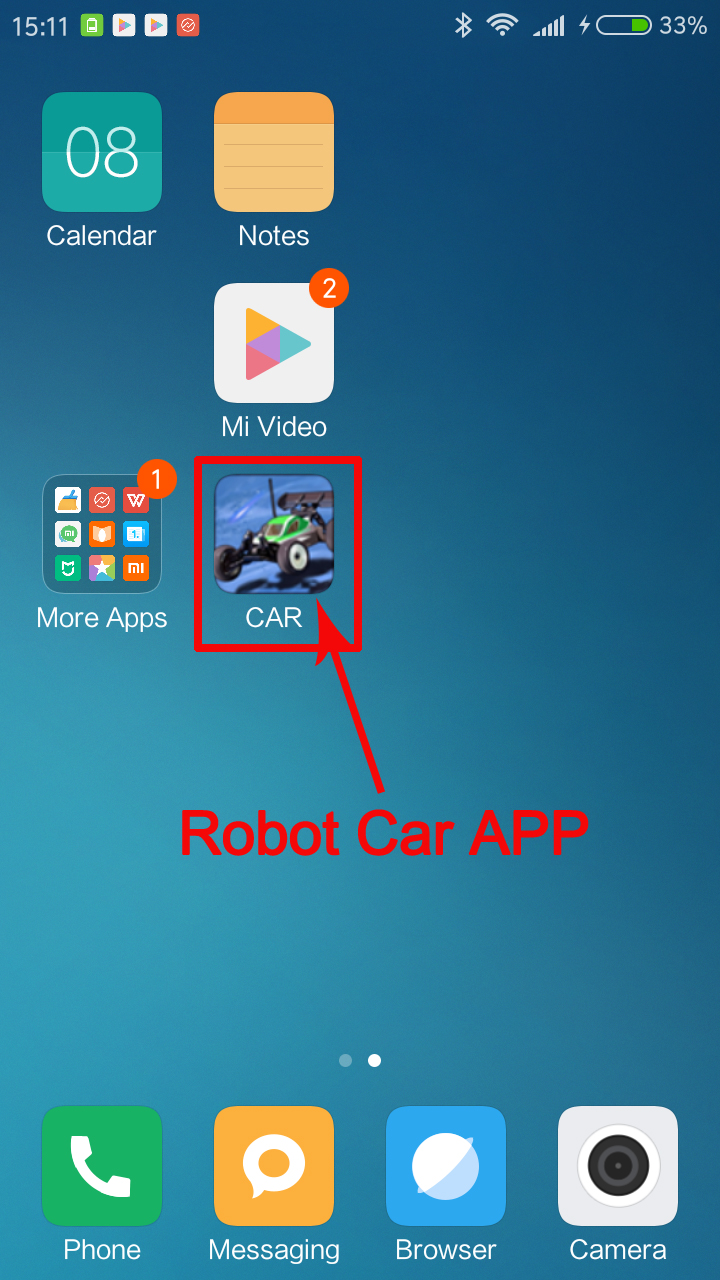
Step 6: Download app. in Android phone from the link: http://osoyoo.com/driver/car.apk |
Or scan the following QR code with Android phone to download the app.: |
 |
| Note: Android APP Source code(Please note: the APP is just compatible with Android OS) |
Step 7: install App. in your Android phone |
 |
Step 1:Turn on switch in the battery box |
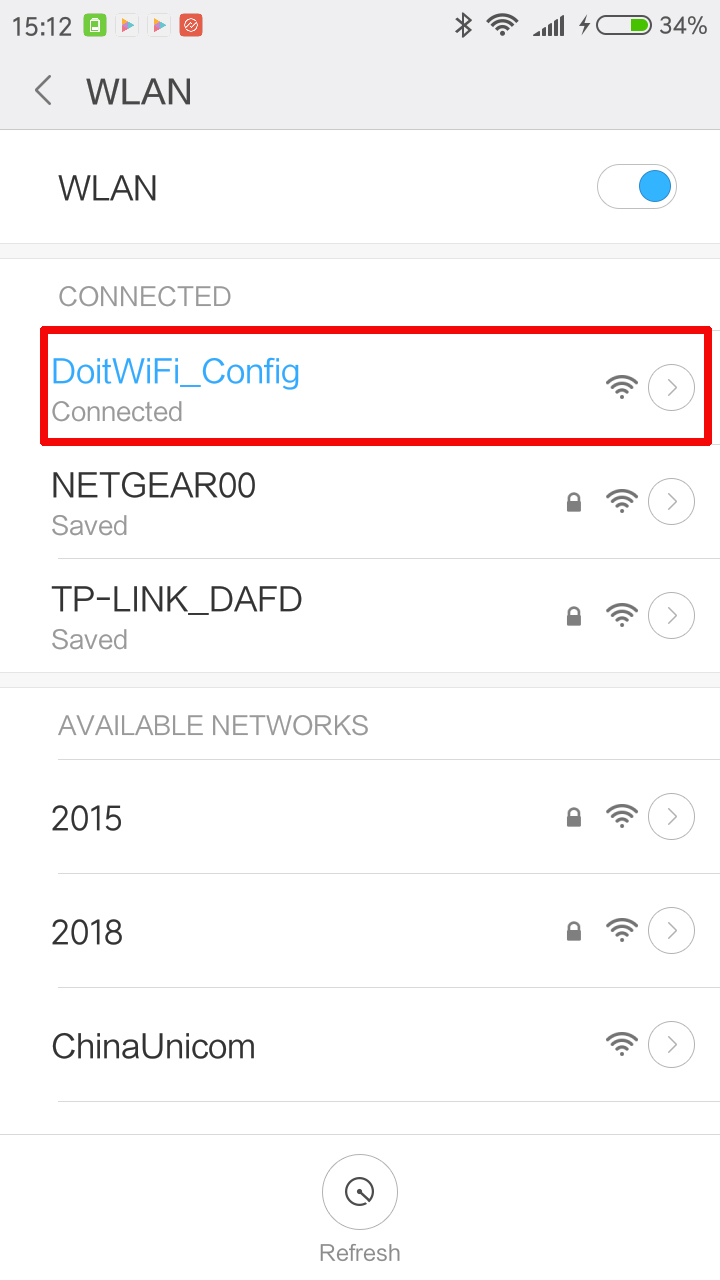
Step 2:If you want to control the robot car through WIFI, please scan WiFi hotspot with your Android phone which you have installed APP and search for wifi named” DoitWIFI_Config”, Click connect(no password needed). |
 |
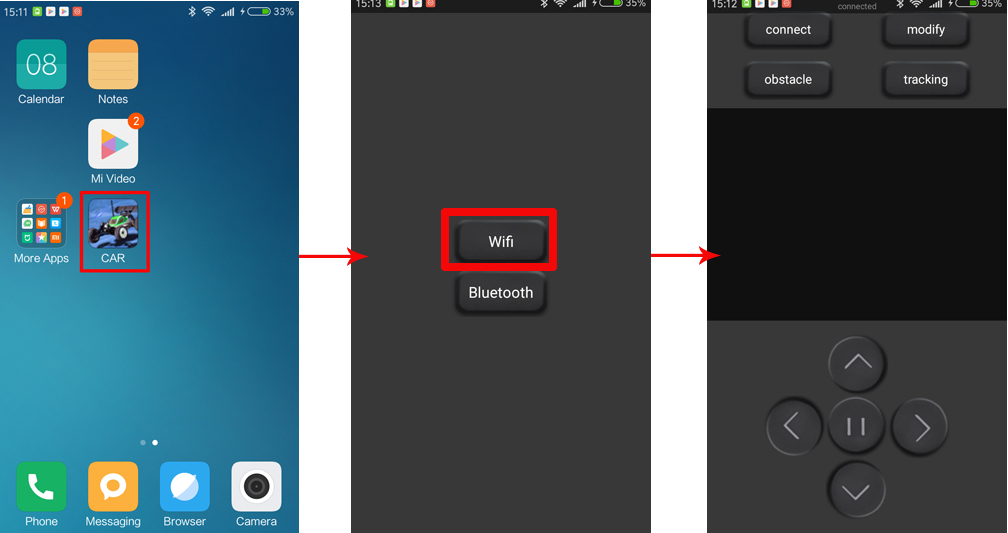
Step 3: Open app>> select WiFi mode>> then you can controller the robot car through wifi |
 |
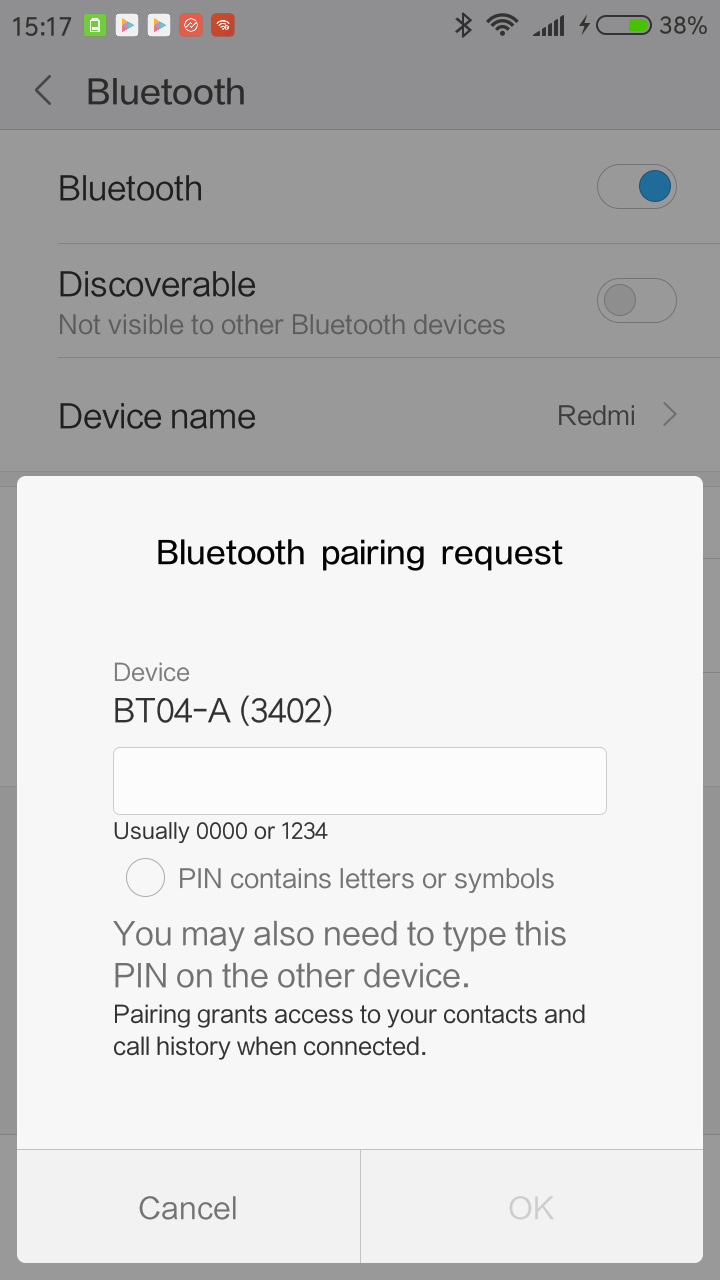
Step 4: If you want to control the robot car through Bluetooth, please turn on bluetooth of your Android phone which you have installed APP and scan bluetooth(different bluetooth module will scan different bluetooth name), Click connect and enter password "1234" or "0000" if no change (You can change wifi or bluetooth settings in Android phone to switch to control car through wifi or bluetooth): |
 |
Step 5) Open app>> select bluetooth mode>> then you can controller the robot car through bluetooth: |
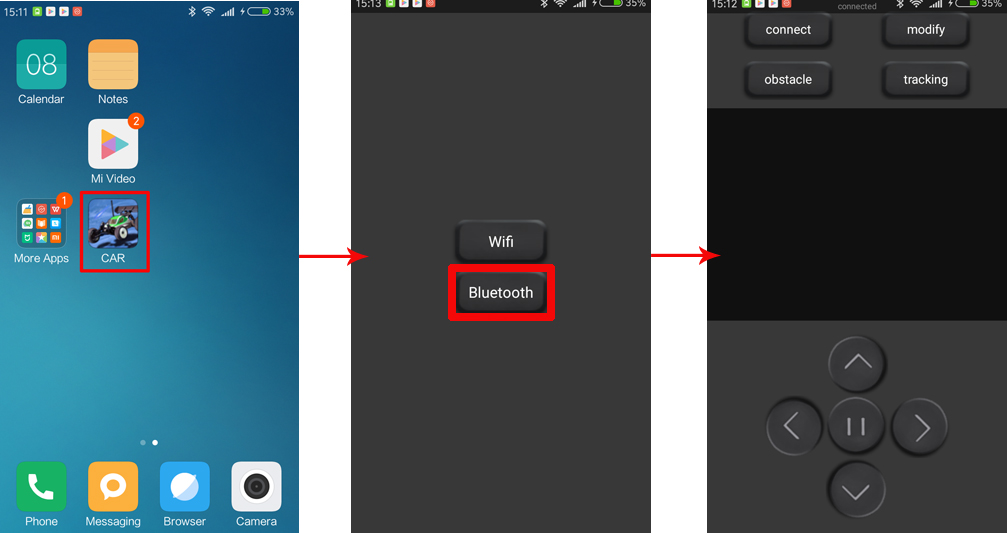 |
There are three working mode: manual control, obstacle avoidance and tracking. Users can switch freely among three working mode. |
| 1) In manual control mode, you can click buttons (^) (V) (<) (>) to control the Robot car to move forward and backward, turn right and left. Meanwhile, the APP can observe the car real time movement. |
2) Click "tracking" button of App to switch the current mode to tracking mode. The Robot car will move forward along the black line in white background. Meanwhile, the APP can observe the car real time movement. Press "||" button to stop moving and click other button to change Robot car working mode. To learn more about this mode, please review our Lesson 4 Tracking Robot Car |
3) Click "Obstacle" button to switch the current mode to obstacle avoidance mode. The Robot car can be driven forward continuously and stopped and steered away once any obstacle in its way. Press "||" button to stop moving and then click other button to change Robot car working mode. To learn more about this mode, please review our Lesson 3 Obstacle Avoidance Robot Car |