![]()
www.osoyoo.com/?p=9847
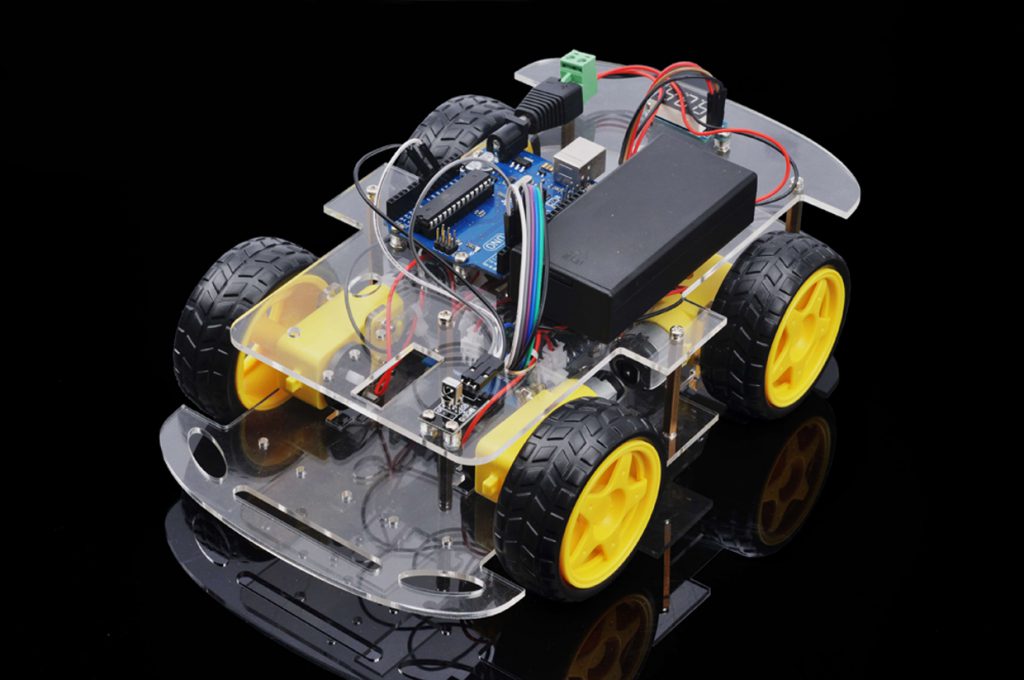 |
In this tutorial, we will use Osoyoo Smart DIY kit to make a simple remote controlled smart car. Once the car installation is completed, we will use a Infrared Remote to control the car movements including go forward, go back, left turn and right turn. |
|
Device Name
|
picture
|
qty
|
Screw Number |
|
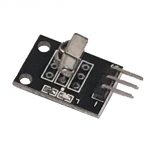
IR receiver(VS1838)
|
 |
1
|
M2.5*10 screw x2 M2.5 nuts x2 Transparent Washer x2 |
|
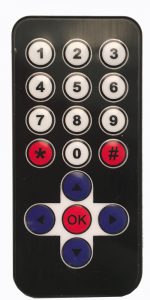
IR remote controller
|
 |
1
|
|
|
Lower chassis
|
|
1
|
M3*5 screw x5 Copper pillar x5 |
|
Upper chassis
|
|
1
|
M3*5 screw x5 |
|
Gear motor with wires
(Acrylic fastener for Gear Motor x8
Velocity encoder x4)
|
 |
4
|
M3*30 screw x8 M3 nuts x8 |
|
Wheel
|
 |
4
|
|
|
|
 |
1
|
M3*10 screw x4 M3 nuts x4 Transparent Washer x4 |
|
OSOYOO Model X Motor driver module
|
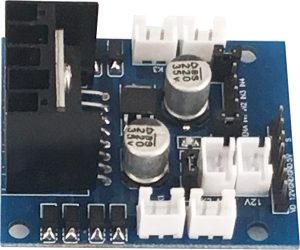 |
1
|
M3*10 screw x4 M3 nuts x4 Transparent Washer x4 |
|
Box for 18650 3.7V battery
|
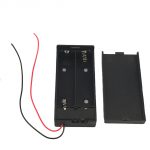 |
1
|
M3*10 screw x4 M3 nuts x4 |
|
DC power connector with wires
|
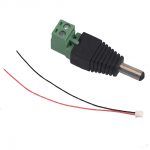 |
1
|
|
|
Voltage meter
|
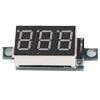 |
1
|
M3*10 screw x2 M3 nuts x2 Transparent Washer x2 |
|
Jumper wires(female to female)
|
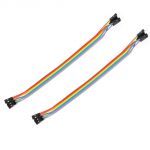 |
some
|
|
|
Jumper wires(male to female)
|
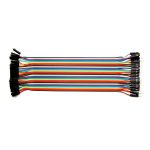 |
some
|
|
|
Cross screwdriver
|
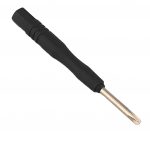 |
1
|
| Step 1: Install the smart car basic frame work as per Smart Car Lesson 1 . If you have already completed installation in Lesson 1 , just keep it as is. |
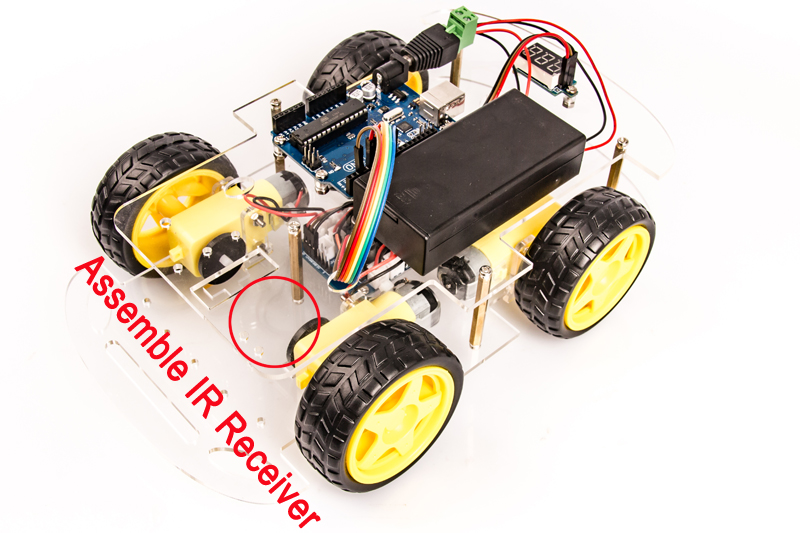 |
| Step 2: Add an IR receiver module onto the car. Install the IR receiver module with M2.5*10 screws and nuts, washers at the front of upper chassis. |
 |
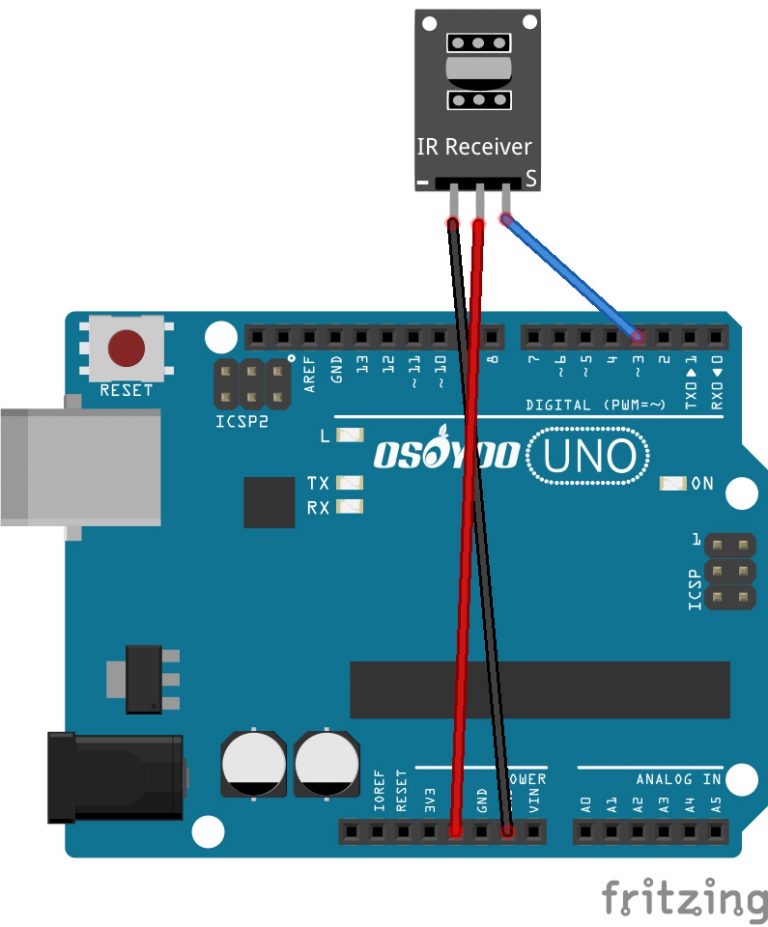
Step 3: Connect the S pin in IR receiver to D3 pin in UNO board, GND to GND, VCC to 5V, as the following photo (Remember : DO NOT remove any existing wires installed in Lesson 1 ) : |
 |
Step 1: Install latest Arduino IDE (If you have Arduino IDE version after 1.1.16, please skip this step) |
| Download Arduino IDE from https://www.arduino.cc/en/Main/Software?setlang=en, then install the software. |
Step 2: Install IRremote library into Arduino IDE (If you have already installed IRremote library, please skip this step) |
| Download IRremote library, then import the library into Arduino IDE(Open Arduino IDE-> click Sketch->Include Library->Add .Zip Library) |
 |
Step 3: Download Lesson 2 IRremote robot car sample code and unzip the download zip file smartcar-lesson2.zip, you will see a folder called smartcar-lesson2(or you can find the code directly from our CD user manual: OSOYOO Robot Car Starter Kit >> Code). |
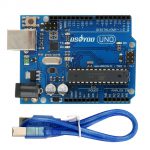
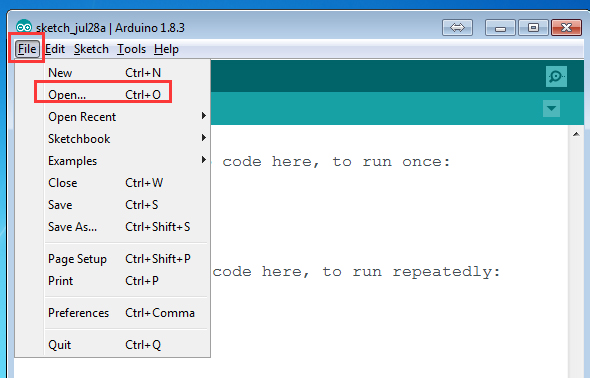
Step 4: Connect UNO R3 board to PC with USB cable, Open Arduino IDE -> click file -> click Open -> choose code “smartcar-lesson2.ino” in smartcar-lesson2 folder, load the code into arduino. |
 |
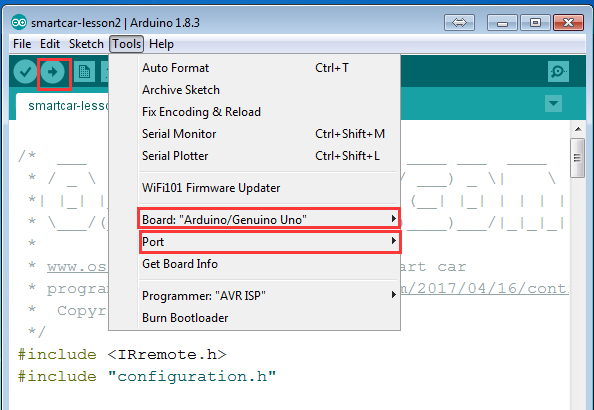
| Step 5: Choose corresponding board and port for your project,upload the sketch to the board. |
 |
Testing: |
Press IR controller keys to control the car movements as per following instruction table: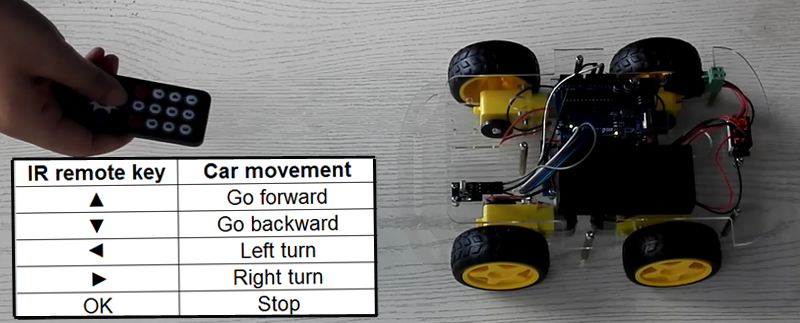 |